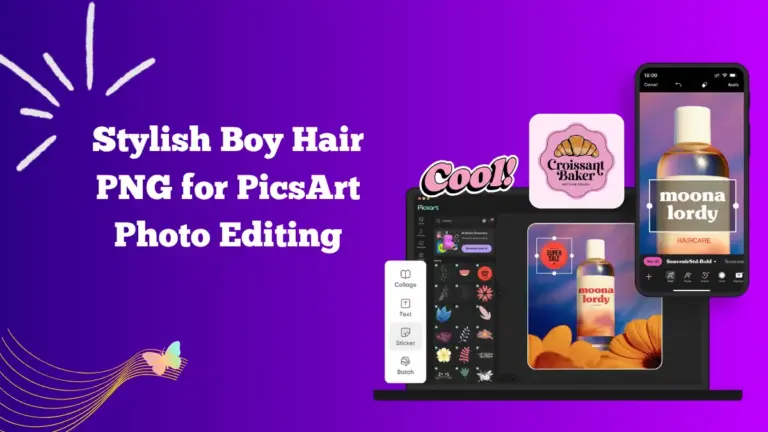
Picsart MOD APK Sticker Maker 101: Tips and Tricks
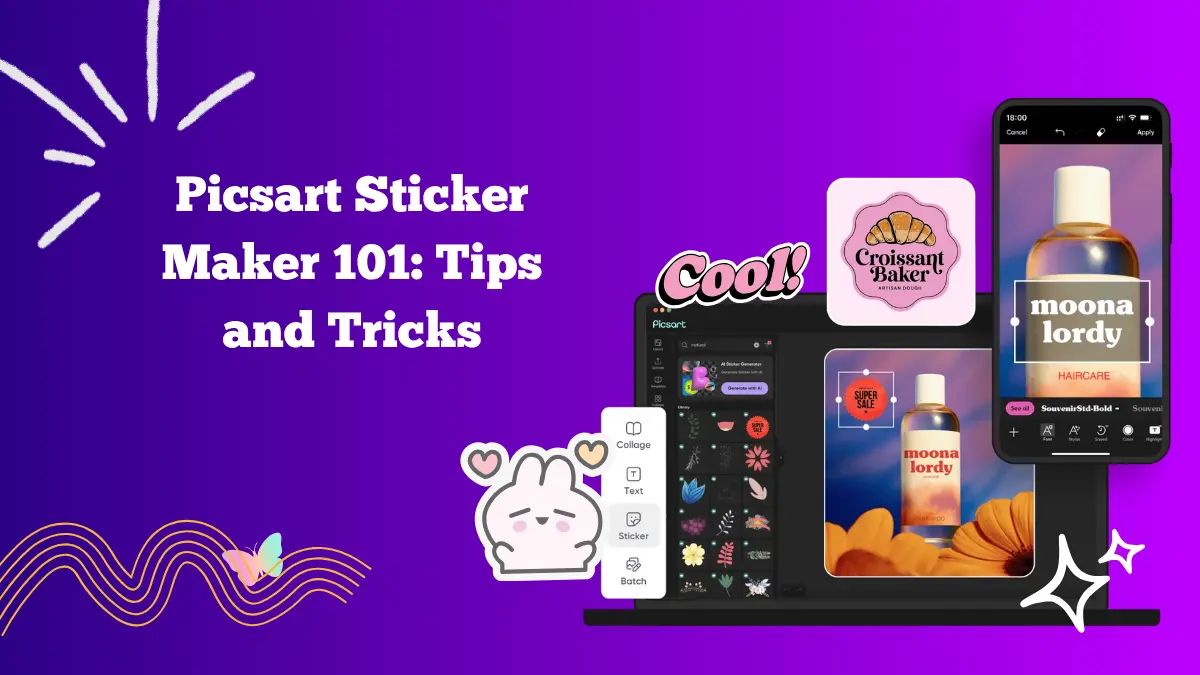
Stickers are one of the most creative ways to make your photos, videos, and social media posts stand out. Picsart MOD makes it easy to create, customize, and edit stickers with its built-in Sticker Maker tool.
From glowing effects to blending techniques, this feature helps you turn any image or design into something fun and eye-catching. You don’t need professional editing experience to make great stickers—just a little creativity and the right steps.
This guide will walk you through how to make custom stickers on Picsart APK, how to make them glow, warp, or blend, and also answer some common questions about using stickers in the app.
How to Make Custom Stickers in Picsart APK Latest Version
Creating a custom sticker is simple and only takes a few minutes. You can make a sticker from any image or photo. Here’s how you can do it:
1: Open APK
Launch the app and log in to your account. Tap the “+” icon at the bottom of the screen to start a new project.
2: Upload Your Image
Choose an image from your gallery that you want to turn into a sticker. It could be a photo of yourself, an object, or a drawing.
3: Remove the Background
Go to Tools > Remove Background. It will automatically detect and remove the background using AI. If the app doesn’t perfectly cut out your image, use the Eraser or Restore brush to clean up the edges.
4: Save as a Sticker
Once you’re satisfied, tap Apply and then select Sticker. It allows you to save your creation as a transparent PNG file or directly into your sticker collection in the app.
5: Add Effects (Optional)
You can make your sticker even more creative by adding effects, filters, or outlines. The APK has options like Glow, Shadow, and Stroke to make your sticker pop.
How to Make a Sticker Glow in Picsart MOD
Glowing stickers add a magical touch to any edit. Its effects make it easy to create this neon or soft-glow effect. Here’s how to do it:
- Open the sticker you created in the editor.
- Tap Effects and go to the Blur section.
- Choose the Glow or Neon effect. Adjust the Intensity and Brightness sliders until you get the desired glow.
- You can also add an outline with the Stroke tool under Tools > Draw > Stroke, and choose a bright color for a glowing border.
This technique is great for adding energy and light to your stickers, especially if you use them on dark backgrounds or night-themed edits.
How to Warp Stickers in Picsart APK
Warping lets you reshape or bend stickers to match different surfaces or artistic styles. The Warp tool makes this easy.
- Select your sticker and tap Tools > Stretch or Warp.
- Use your finger to drag parts of the sticker in any direction.
- Use the Liquify brush for smoother adjustments.
- Tap Apply once you are happy with the new shape.
You can warp stickers to make them fit around curved objects or to give them a dynamic, stretched look. It’s useful for customizing stickers to blend into your designs naturally.
How to Blend Stickers on Picsart MOD APK
Blending stickers helps them look more realistic and integrated into your photo. Here’s how to do it:
- Add your sticker to the image you’re editing.
- Tap on the sticker layer and open the Blend option.
- Choose from blending modes like Overlay, Soft Light, Multiply, or Screen.
- Adjust the Opacity to control how visible or subtle your sticker appears.
Blending is especially helpful when you want stickers to look like part of the scene instead of floating on top of it.
FAQs
Can I use stickers for commercial use?
Most of the stickers available in the library are for personal use only unless they are labeled as free for commercial use. If you want to use a sticker for a business project, ad, or product, always check the license terms or create your own original stickers using the Sticker Maker feature.
How do I blur a sticker on Picsart APK?
To blur a sticker, select it and go to Effects > Blur. Choose your preferred blur type, such as Gaussian, Motion, or Radial, and adjust the intensity. Blurring is useful for background stickers or when you want to create depth in your design.
Can I create WhatsApp stickers in APK Picsart?
Yes, you can. Create custom stickers using the Sticker Maker and save them as transparent PNG files. After saving, use a WhatsApp sticker app (such as “Personal Stickers for WhatsApp”) to import and use them in chats.
Why is my sticker background not transparent?
If your sticker shows a white or black background, make sure you saved it as a PNG file instead of JPEG. PNG supports transparency, while JPEG does not.
Can I layer multiple stickers in one project?
Yes, the APK allows multiple sticker layers. You can mix, resize, and rotate stickers as much as you like. This makes it possible to design complex compositions or collages easily.
Tips for Better Sticker Design
- Use high-quality images: Low-resolution photos can make your stickers look blurry or pixelated.
- Add outlines: A small white or colored stroke makes your stickers pop on any background.
- Experiment with opacity: Lower opacity can make your stickers look soft and blend well into images.
- Combine multiple effects: For example, apply a glow and a shadow together for more depth.
Conclusion
The Picsart MOD APK Sticker Maker is one of the most enjoyable tools for bringing your creativity to life. It gives you full control to design your own stickers, from simple cutouts to glowing and blended designs.
You can use these stickers for personal projects, fun edits, or even to build your own sticker packs for messaging apps like WhatsApp. By learning how to make your stickers glow, warp, and blend, you can create designs that feel unique and professional.
So open the app, start experimenting, and watch your ideas turn into amazing stickers that make every image and message more fun and expressive.